Atmosphere decoration light
How to install Solar Lawn Lights
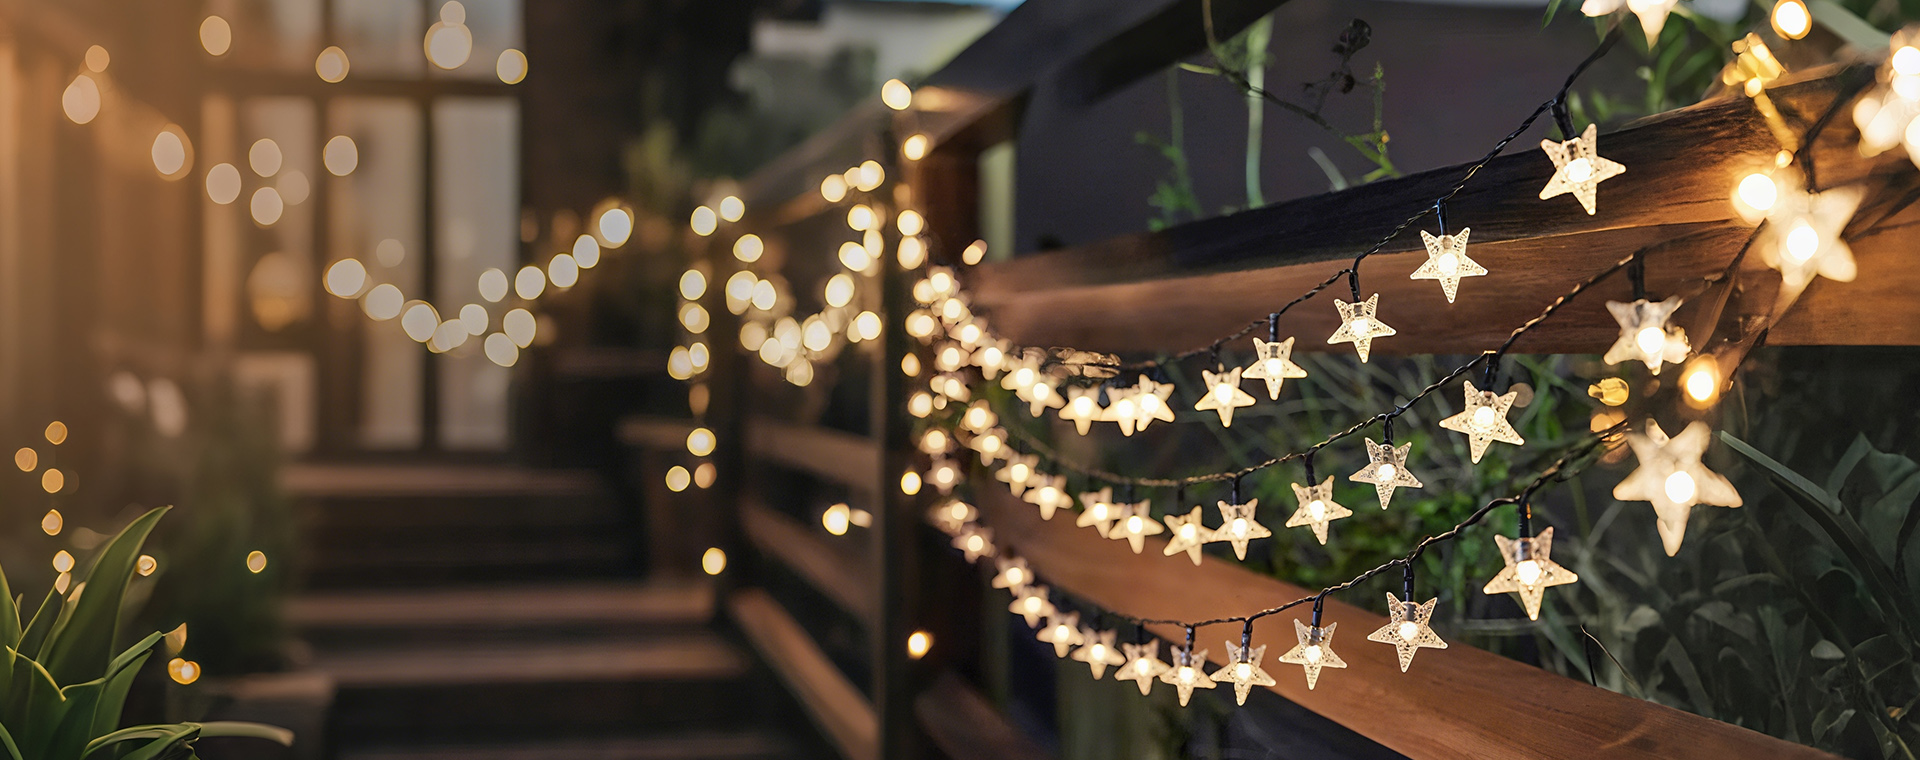
As dusk deepens in the back garden, the warm glow of savinglights solar lawn lights interweaves with the soft glow of ambient decorative lights, creating a practical and inviting atmosphere at night. Proper installation of solar lawn lights is essential for achieving a harmonious interaction with ambient decorative lights.
Scientific Planning: Positioning by Scene to Create Clear Dimensions of Light and Shadow
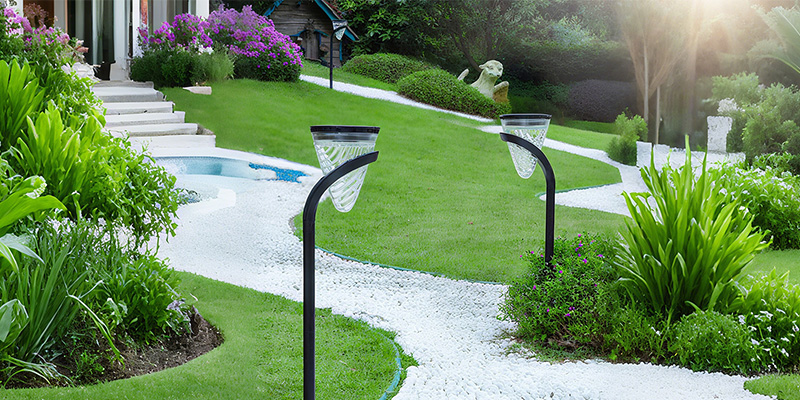
A 30cm-tall solar lawn light is installed every 1.8 meters along the stone path, tilted downward 15° to illuminate the road surface. A 1.2m-tall star-shaped string light is hung on the fence, providing a horizontal guide to the ground lights without blocking each other.
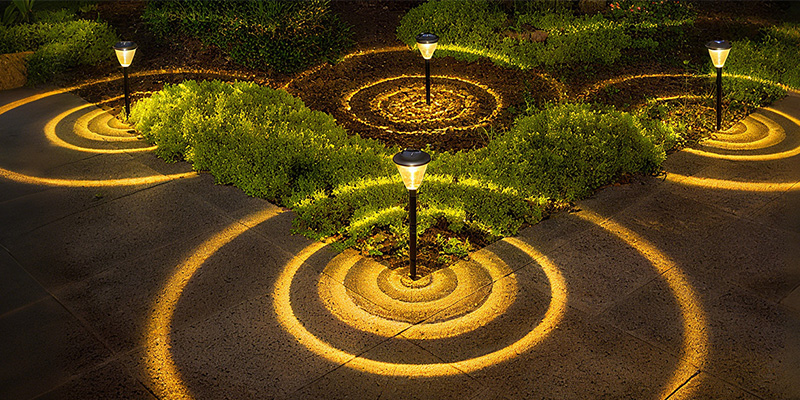
In the leisure area, a 50cm-tall lawn light is embedded in each corner of the terrace, providing horizontal illumination across the entire area. This contrast is complemented by solar lanterns on 2m-tall branches and rattan ball lights near the seats. The contrast of warm red and white light, diffused light fills shadows, creating a more intimate atmosphere for gatherings.
In the landscape display area, underground lawn lights (protruding 10cm from the ground) are installed around the rose bushes. The lights are tilted 45° to illuminate one or two main flower clusters. Above the rose bushes, a rose-shaped string light is wrapped around the roses, providing 60% of the brightness of the lawn lights. The vertical and horizontal light and shadows enhance the three-dimensional effect of the landscape.
Precision Installation: Key Points for Integrated Design
Foundation Fixing: Dig a 20cm deep pit in soft ground and bury the integrated light pole 10cm deep (leveraging the light's own weight and non-slip base for enhanced stability). For hardened surfaces, secure the light pole with the included ground spikes to ensure the light is vertical and prevent the photovoltaic panel from tilting at an inappropriate angle and affecting charging.
Solar panel calibration: Because the solar panel is integrated with the light pole, the entire light pole must be rotated to adjust its orientation. South or southeast is optimal, ensuring no obstruction from branches or buildings. Four hours of direct sunlight per day is sufficient for battery life. Avoid hanging decorative lighting to prevent light obstruction.
Angle Adjustment: Tilt the light pole downward 15°-20° for trail lighting to prevent glare. For functional areas, slightly raise the light pole ≤10° for increased coverage. During adjustments, check the photovoltaic panel angle to ensure balance between lighting direction and daylighting efficiency. (Integrated designs require a balance between lighting direction and daylighting efficiency)
Matching Tips: Make the Two Lights Work Together More Perfectly
It is best if solar lawn lights and atmosphere decorative lights can be turned on and off at the same time. During installation, be careful not to let the lawn light shine directly into the ambient lighting's "eyes" (light sensors). Otherwise, the ambient lighting might mistakenly think it's daylight and turn off prematurely. A slight rotation can avoid this problem. Late at night, both lights can be dimmed simultaneously, saving energy without disrupting the overall ambiance.
Recently clean the solar lawn light's panels (once or twice a month is sufficient) to ensure adequate power generation. Also, pay attention to the distance between the ambient lighting string and the lawn lights to avoid overgrown branches blocking their "sunlighting" or glow.
Follow these tips to install the savinglights solar lawn lights. The convenience of their integrated design and the flexibility of the ambient lighting will blend seamlessly, giving your backyard garden both practical light to illuminate your steps and a romantic touch to brighten your mood at night, creating a warm and inviting addition to your outdoor lifestyle.
FAQs
The installation should be done in a location with sufficient sunlight and no shielding (such as walls, ground or poles) to ensure that the solar panels can fully receive light. During installation, fix them with screws or brackets according to the model to ensure stability without shaking. At the same time, attention should be paid to the orientation and angle of the solar panel. It is usually recommended that the installation angle be close to the local latitude. For example, in areas with a latitude of 30°-40°, the angle can be set at about 35°-45°, which allows the solar panel to receive as much sunlight as possible in different seasons throughout the year. Specific adjustments can be made according to the local latitude; the higher the latitude, the larger the angle can be appropriately.
Clean the solar panels regularly to keep their surfaces clean, so as to improve charging efficiency; check the battery status regularly to ensure that the battery is fully charged, and replace the battery in time if it is aging or damaged; at the same time, check all parts of the lamp regularly, and repair or replace them in time if internal faults are found.
Solar lights use solar energy to generate electricity, so they do not need to be connected to the power grid, which can save electricity bills. They are flexible to install and not restricted by the layout of wires, making them especially suitable for remote outdoor areas. They do not produce carbon emissions during use, so they are more environmentally friendly. In addition, their maintenance costs are relatively low and they have a longer service life.
It may be that the battery is dead (e.g., due to long-term rainy weather or the solar panel being blocked). You can place it in direct sunlight to fully charge it and then try again. It could also be caused by a damaged LED bulb, poor wire connections, or a faulty controller. You can first check if the wire connections are secure. If there's no issue with the connections, contact a professional to inspect the bulb and controller.
The waterproof rating is usually indicated by an IP code, such as IP65, IP66, etc. The first digit after IP represents the dustproof rating, and the second digit represents the waterproof rating. For solar lights used outdoors, it is recommended that the waterproof rating be no less than IP65. Such lights can effectively resist rain washing and spraying, and are safe for normal outdoor use, but they should be avoided from being soaked in water for a long time.
It is generally not recommended. Because the intensity and duration of indoor light are usually insufficient, it will lead to insufficient charging of the solar panel, affecting the lighting effect of the lamp and the service life of the battery. If it is really necessary to use it indoors, it is necessary to ensure that the solar panel can receive sufficient natural light or strong light irradiation.
Not necessarily. It may be that the light control sensor is blocked (such as by leaves, dust, etc.), causing the sensor to mistakenly judge it as night; it could also be that the light control sensitivity is set improperly or the sensor is faulty. You can first clean the debris on the surface of the sensor. If the problem still cannot be solved, it is recommended to contact after-sales service for inspection.
Regularly (it is recommended to do it 1-2 times a month), wipe the surface of the solar panels with a soft cloth or sponge dipped in clean water to remove dust, leaves, bird droppings and other debris. If there are stubborn stains that are difficult to clean on the surface, you can use a small amount of neutral detergent to wipe, then rinse with clean water. Avoid using hard objects to scrape, so as not to damage the panels.
Yes, it needs to be replaced. The service life of lithium batteries commonly used in solar lights is generally 3-5 years, and that of lead-acid batteries is 2-3 years. When it is found that the lighting time of the lamp is significantly shortened (for example, from the original 8 hours to less than 3 hours), and other faults are ruled out after inspection, it may be that the battery is aging, and it is necessary to replace it with a battery of the same model and parameters in time.